Playwright進階篇(五):自動化截圖與錄影
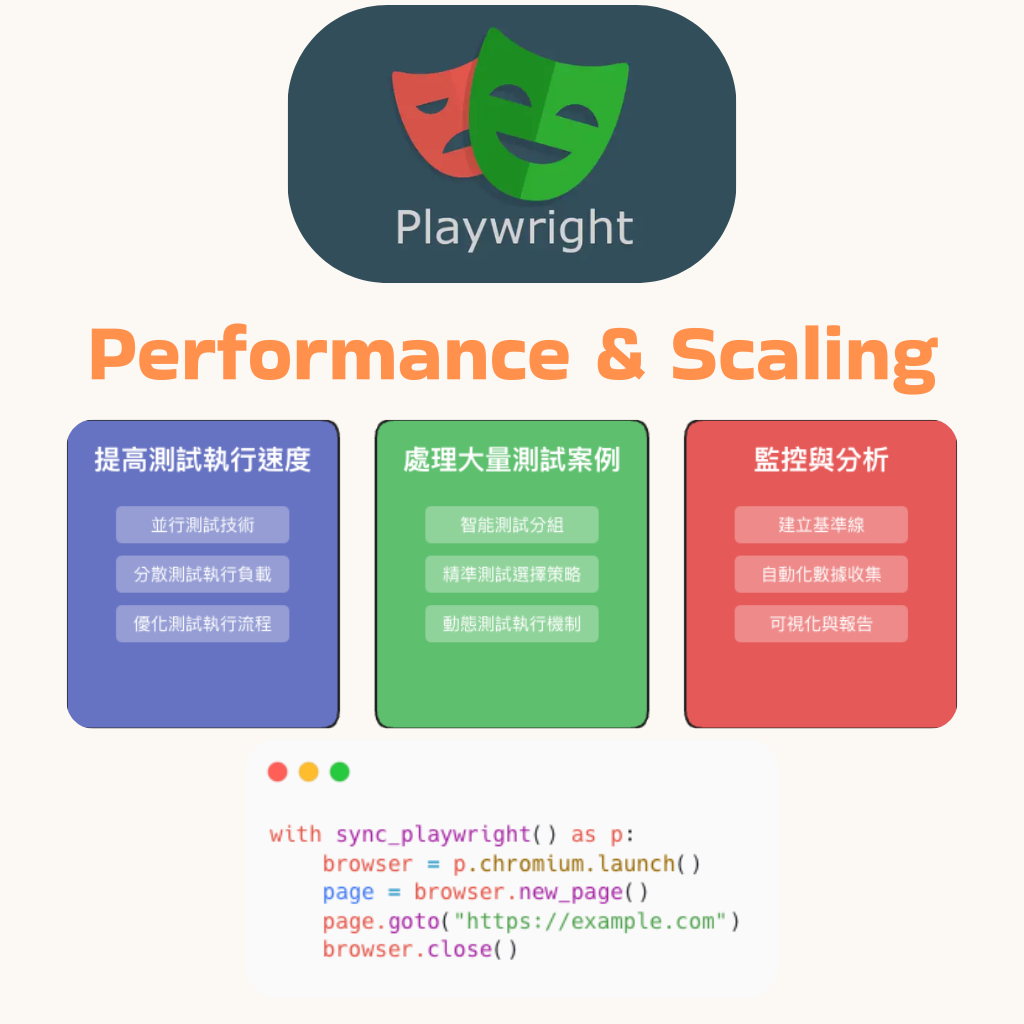
1. 提高測試執行速度
目的
提高測試執行的效率,縮短整體測試時間,並最大化系統資源利用率。
核心策略
- 利用並行測試技術
- 分散測試執行負載
- 優化測試執行流程
import multiprocessing
import time
from concurrent.futures import ThreadPoolExecutor, as_completed

class ParallelTestExecutor:
    """
    並行測試執行類別

    此類別負責管理和執行測試用例的並行處理,
    提高測試效率並充分利用系統資源。
    """

    def __init__(self, test_suite):
        """
        初始化並行測試執行器

        Args:
            test_suite (list): 測試用例列表
        """
        self.test_suite = test_suite
        # 自動偵測CPU核心數
        self.cpu_count = multiprocessing.cpu_count()

    def execute_tests_in_parallel(self, max_workers=None):
        """
        使用線程池並行執行測試用例

        特點:
        - 動態調整工作線程數
        - 追蹤每個測試的執行結果
        - 計算總體執行時間

        Args:
            max_workers (int, optional): 最大工作線程數

        Returns:
            dict: 包含測試結果和執行時間的字典
        """
        # 如未指定工作線程數,預設為CPU核心數
        if max_workers is None:
            max_workers = self.cpu_count

        start_time = time.time()

        # 使用執行緒池管理並發測試
        with ThreadPoolExecutor(max_workers=max_workers) as executor:
            # 為每個測試創建一個異步任務
            futures = {
                executor.submit(self._run_test, test): test
                for test in self.test_suite
            }

            # 儲存測試結果
            results = {}
            for future in as_completed(futures):
                test = futures[future]
                try:
                    result = future.result()
                    results[test] = result
                except Exception as exc:
                    results[test] = str(exc)

        end_time = time.time()

        return {
            'total_execution_time': end_time - start_time,
            'test_results': results
        }

    def _run_test(self, test_case):
        """
        執行單個測試用例的內部方法

        這是一個模擬方法,實際專案中需替換為真實的測試執行邏輯

        Args:
            test_case (str): 測試用例名稱

        Returns:
            str: 測試執行結果
        """
        # 模擬測試執行
        try:
            # 這裡應替換為實際的測試執行代碼
            print(f"執行測試: {test_case}")

            # 模擬測試可能的成功或失敗
            import random
            if random.random() > 0.2:  # 80%成功率
                return "PASS"
            else:
                return "FAIL"
        except Exception as e:
            return f"ERROR: {str(e)}"

# 使用範例
def test_parallel_execution():
    """
    展示並行測試執行的使用方法
    """
    test_suite = [
        'test_login',
        'test_registration',
        'test_profile_update',
        'test_password_reset',
        'test_search_functionality'
    ]

    # 創建並行測試執行器
    parallel_executor = ParallelTestExecutor(test_suite)

    # 執行並行測試
    parallel_results = parallel_executor.execute_tests_in_parallel()

    # 輸出測試結果
    print("總執行時間:", parallel_results['total_execution_time'])
    print("測試結果:", parallel_results['test_results'])

# 如果直接運行此腳本,執行測試
if __name__ == '__main__':
    test_parallel_execution()
2. 處理大量測試案例
挑戰
當測試套件規模不斷增長時,如何有效管理和執行大量測試。
解決方案
- 實施智能測試分組
- 開發精準的測試選擇策略
- 建立動態測試執行機制
class IntelligentTestSelector:
    """
    智能測試用例選擇類別

    提供靈活的測試用例篩選和優先級排序策略
    """

    def __init__(self, test_suite):
        """
        初始化智能測試選擇器

        Args:
            test_suite (list): 完整的測試用例集合
        """
        self.test_suite = test_suite

        # 預設的測試重要性權重
        self.default_priorities = {
            'test_login': 1,      # 最高優先級
            'test_registration': 2, # 次高優先級
            'test_critical_path': 3,  # 關鍵路徑測試
            'test_edge_case': 5     # 低優先級
        }

    def select_tests(self,
                     priority_map=None,
                     previous_failures=None,
                     coverage_threshold=0.7):
        """
        智能選擇測試用例

        策略:
        1 優先執行上次失敗的測試
        2 根據優先級篩選
        3 考慮測試覆蓋率

        Args:
            priority_map (dict, optional): 自定義優先級映射
            previous_failures (list, optional): 上次執行失敗的測試
            coverage_threshold (float, optional): 測試覆蓋率閾值

        Returns:
            list: 篩選後的測試用例
        """
        # 使用預設或自定義的優先級映射
        priorities = priority_map or self.default_priorities

        # 初始化選中的測試用例列表
        selected_tests = []

        # 優先加入上次失敗的測試用例
        if previous_failures:
            selected_tests.extend(previous_failures)

        # 根據優先級對測試用例排序
        prioritized_tests = sorted(
            self.test_suite,
            key=lambda x: priorities.get(x, float('inf'))
        )

        # 過濾並加入符合覆蓋率要求的測試
        for test in prioritized_tests:
            # 假設有一個方法可以計算測試覆蓋率
            if self._estimate_test_coverage(test) >= coverage_threshold:
                selected_tests.append(test)

        return selected_tests

    def _estimate_test_coverage(self, test_case):
        """
        估算測試用例的覆蓋率

        這是一個模擬方法,實際專案中需根據具體測試框架實現

        Args:
            test_case (str): 測試用例名稱

        Returns:
            float: 估算的測試覆蓋率 (0-1之間)
        """
        import random

        # 模擬不同測試用例的覆蓋率
        coverage_map = {
            'test_login': 0.9,
            'test_registration': 0.8,
            'test_profile_update': 0.6,
            'test_search_functionality': 0.7
        }

        return coverage_map.get(test_case, random.random())

# 使用範例
def test_intelligent_selector():
    """
    展示智能測試選擇器的使用方法
    """
    test_suite = [
        'test_login',
        'test_registration',
        'test_profile_update',
        'test_search_functionality'
    ]

    # 創建智能測試選擇器
    selector = IntelligentTestSelector(test_suite)

    # 假設上次這些測試失敗
    previous_failures = ['test_profile_update']

    # 選擇測試用例
    selected_tests = selector.select_tests(
        previous_failures=previous_failures,
        coverage_threshold=0.7
    )

    print("選中的測試用例:", selected_tests)

# 如果直接運行此腳本,執行測試
if __name__ == '__main__':
    test_intelligent_selector()
3. 監控與分析
實施監控的最佳實踐
-
建立基準線
。 確定關鍵性能指標的基準值
。 設置合理的預警閾值
-
自動化數據收集
。 將監控嵌入持續集成流程
。 減少手動干預
。 保證數據的一致性和即時性
-
可視化與報告
。 使用儀表板直觀展示數據
。 定期生成趨勢報告
。 支持多維度圖表分析
-
持續優化
。 定期審查監控策略
。 根據數據洞察調整測試流程
。 建立反饋迴圈,不斷改進
監控的挑戰與解決方案
- 數據過載:精心設計指標,避免收集無意義的數據
- 隱私與安全:嚴格控制敏感信息
- 系統開銷:優化監控代碼,降低性能影響
測試性能監控器
import time
import statistics

class TestPerformanceMonitor:
    """
    測試性能監控類別

    提供全面的測試執行性能分析和報告生成功能
    """

    def __init__(self):
        """
        初始化性能監控器
        """
        # 儲存每個測試的執行時間
        self.test_execution_times = {}

        # 儲存測試結果統計
        self.test_results_summary = {
            'total_tests': 0,
            'passed_tests': 0,
            'failed_tests': 0,
            'skipped_tests': 0
        }

    def record_test_execution(self, test_name, result, execution_time):
        """
        記錄單個測試的執行數據

        Args:
            test_name (str): 測試用例名稱
            result (str): 測試結果 ('PASS', 'FAIL', 'SKIP')
            execution_time (float): 測試執行時間
        """
        # 記錄測試執行時間
        self.test_execution_times[test_name] = execution_time

        # 更新測試結果統計
        self.test_results_summary['total_tests'] += 1
        if result == 'PASS':
            self.test_results_summary['passed_tests'] += 1
        elif result == 'FAIL':
            self.test_results_summary['failed_tests'] += 1
        else:
            self.test_results_summary['skipped_tests'] += 1

    def generate_performance_report(self):
        """
        生成詳細的測試性能報告

        Returns:
            dict: 包含測試執行性能詳細信息的報告
        """
        # 計算執行時間相關統計
        if self.test_execution_times:
            execution_times = list(self.test_execution_times.values())
            performance_report = {
                # 結果統計
                'total_tests': self.test_results_summary['total_tests'],
                'passed_rate': (self.test_results_summary['passed_tests'] /
                                self.test_results_summary['total_tests']) * 100,

                # 執行時間統計
                'avg_execution_time': statistics.mean(execution_times),
                'min_execution_time': min(execution_times),
                'max_execution_time': max(execution_times),
                'std_dev_execution_time': statistics.stdev(execution_times) if len(execution_times) > 1 else 0,

                # 詳細測試執行時間
                'test_execution_times': self.test_execution_times
            }
        else:
            performance_report = {}

        return performance_report

    def performance_trend_analysis(self, historical_data=None):
        """
        分析測試性能趨勢

        Args:
            historical_data (list, optional): 歷史性能數據

        Returns:
            dict: 性能趨勢分析結果
        """
        trend_analysis = {
            'performance_changes': {},
            'stability_index': 0
        }

        # 如果有歷史數據,可以進行更複雜的趨勢分析
        if historical_data:
            # 模擬趨勢分析邏輯
            trend_analysis['stability_index'] = self._calculate_stability_index(historical_data)

        return trend_analysis

    def _calculate_stability_index(self, historical_data):
        """
        計算測試的穩定性指數

        Args:
            historical_data (list): 歷史測試執行數據

        Returns:
            float: 穩定性指數 (0-1之間)
        """
        # 這是一個簡化的穩定性計算邏輯
        # 實際專案中需要更複雜的算法
        import random
        return round(random.uniform(0.6, 0.9), 2)

# 使用範例
def test_performance_monitoring():
    """
    展示性能監控器的使用方法
    """
    # 創建性能監控器
    monitor = TestPerformanceMonitor()

    # 模擬測試執行
    test_cases = [
        ('test_login', 'PASS', 0.2),
        ('test_registration', 'PASS', 0.3),
        ('test_profile_update', 'FAIL', 0.4),
        ('test_search_functionality', 'PASS', 0.1)
    ]

    # 記錄每個測試的執行情況
    for test_name, result, execution_time in test_cases:
        monitor.record_test_execution(test_name, result, execution_time)

    # 生成性能報告
    performance_report = monitor.generate_performance_report()
    print("性能報告:", performance_report)

    # 進行趨勢分析
    trend_analysis = monitor.performance_trend_analysis()
    print("趨勢分析:", trend_analysis)

# 如果直接運行此腳本,執行測試
if __name__ == '__main__':
    test_performance_monitoring()
結語:
效能優化是現代軟體開發中提升開發效率和系統穩定性的關鍵策略。透過並行執行、智能測試選擇和精準的性能監控,我們可以在保證軟體質量的同時,顯著減少測試時間和資源消耗,從而推動更敏捷、更高效的軟體開發流程。
- 數據過載:精心設計指標,避免收集無意義的數據
- 隱私與安全:嚴格控制敏感信息
- 系統開銷:優化監控代碼,降低性能影響
分享這篇文章:
相關文章
Playwright進階篇(四):多語言與地區測試
Playwright基礎篇(一):安裝環境與創建專案
Playwright進階篇(二):API 測試與攔截
Playwright基礎篇(二):基本執行選項
Playwright基礎篇(四):元素定位方法概述
Playwright進階篇(三):測試案例設計與管理指南
Playwright基礎篇(三):測試案例實作
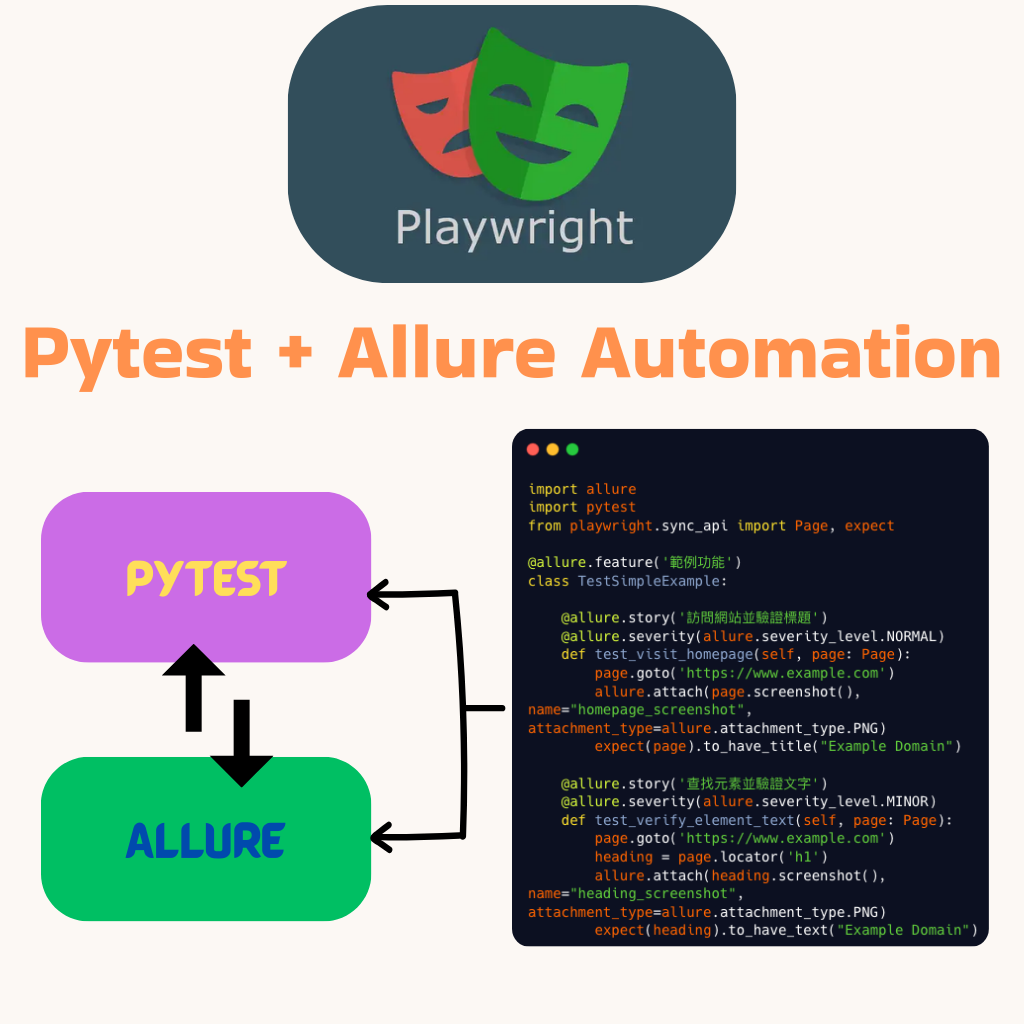
Playwright進階篇(六):使用 Allure Report 整合測試報告
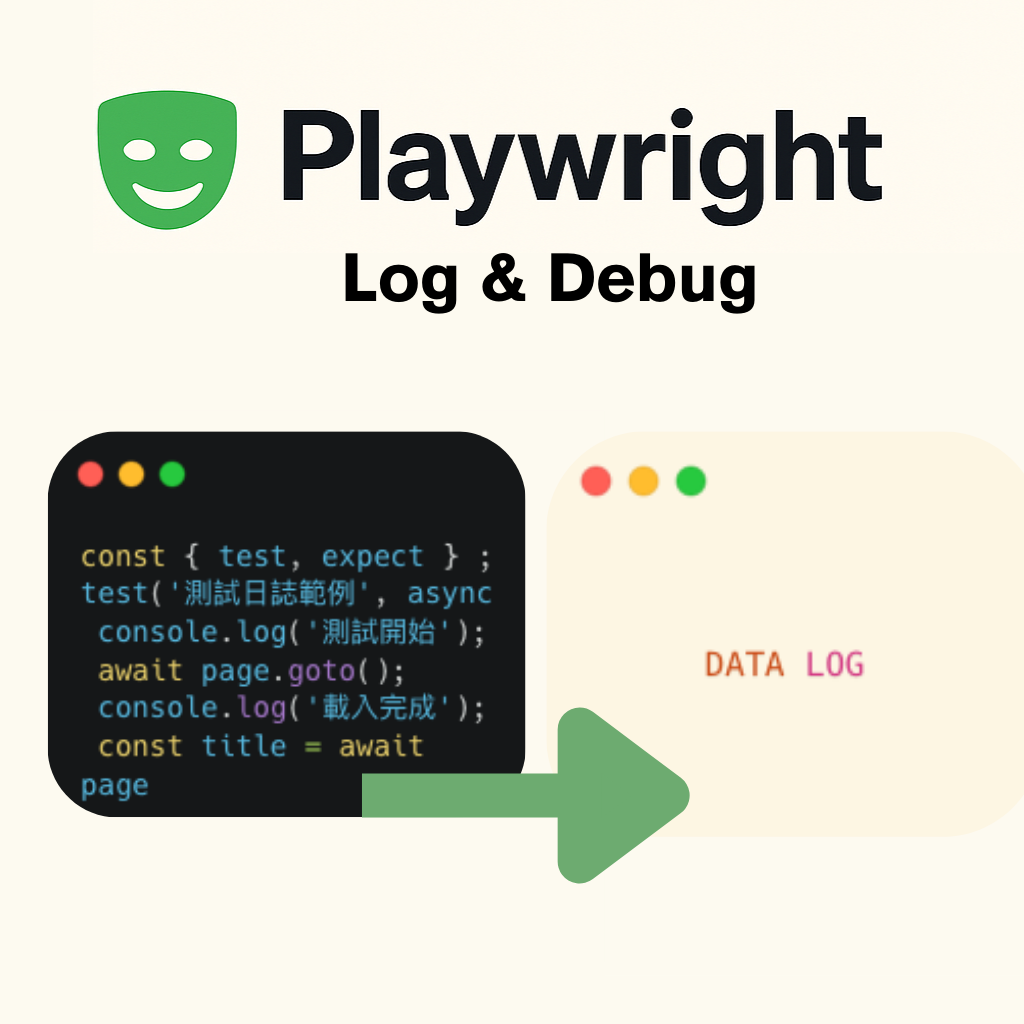
Playwright基礎篇(八):日誌與除錯
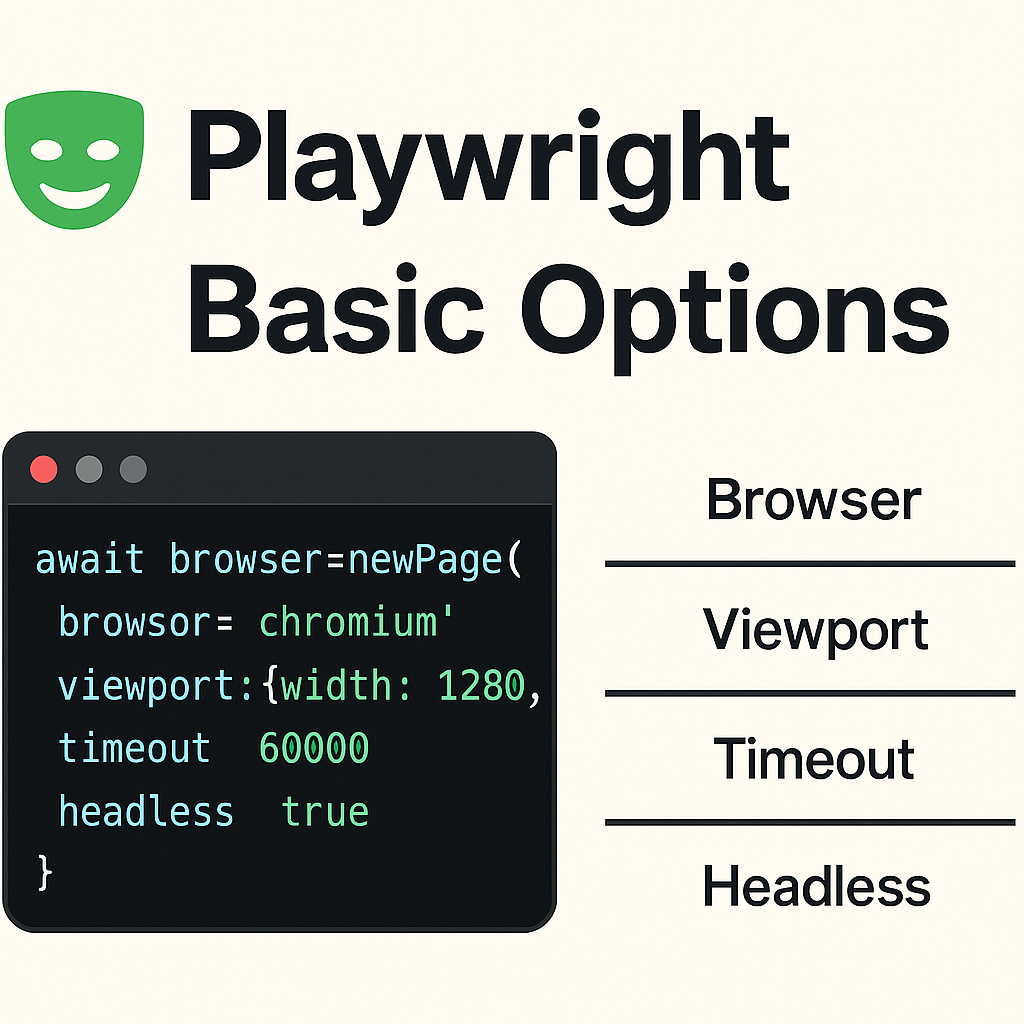
Playwright基礎篇(六):基本配置選項
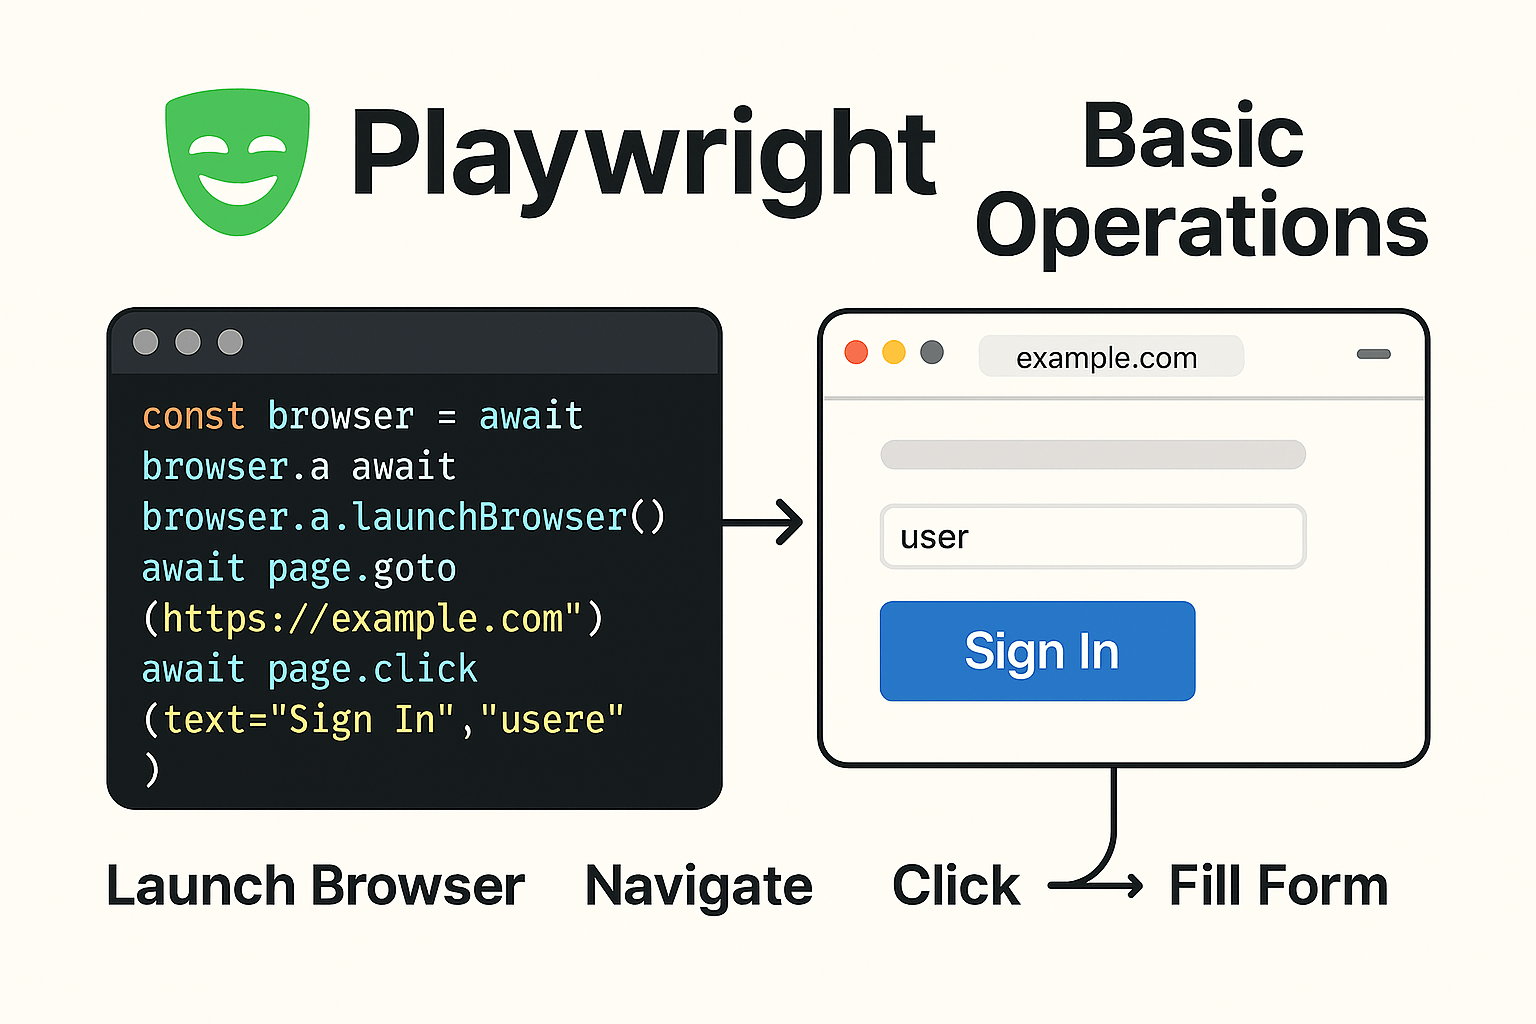
Playwright基礎篇(五):基本操作方法
Playwright基礎篇(九):強化報告系統
Playwright基礎篇(十):進階功能CI/CD
Playwright基礎篇(七):斷言機制